Garden room extension

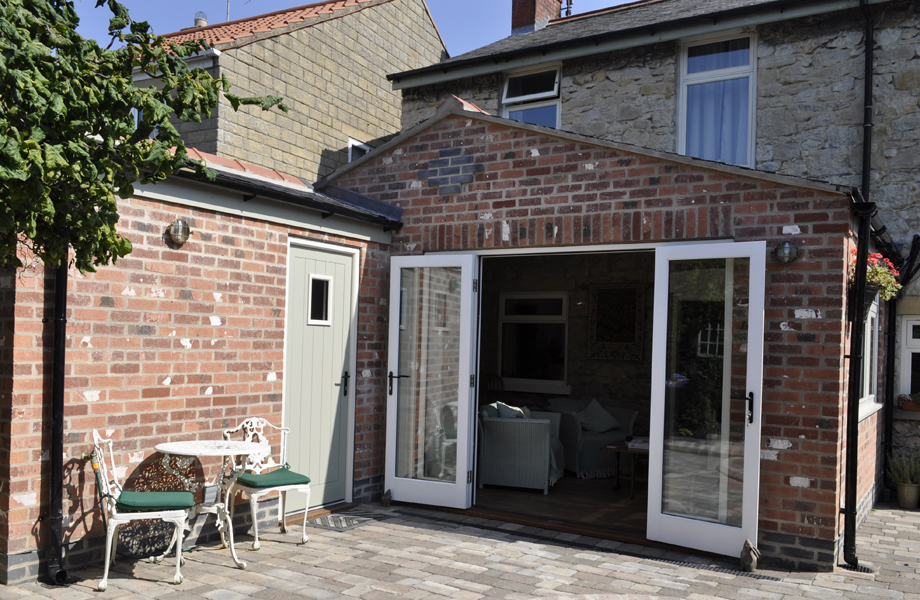
Garden room extension built in 2018-9
After

Rear of the house as it would have looked in 1914
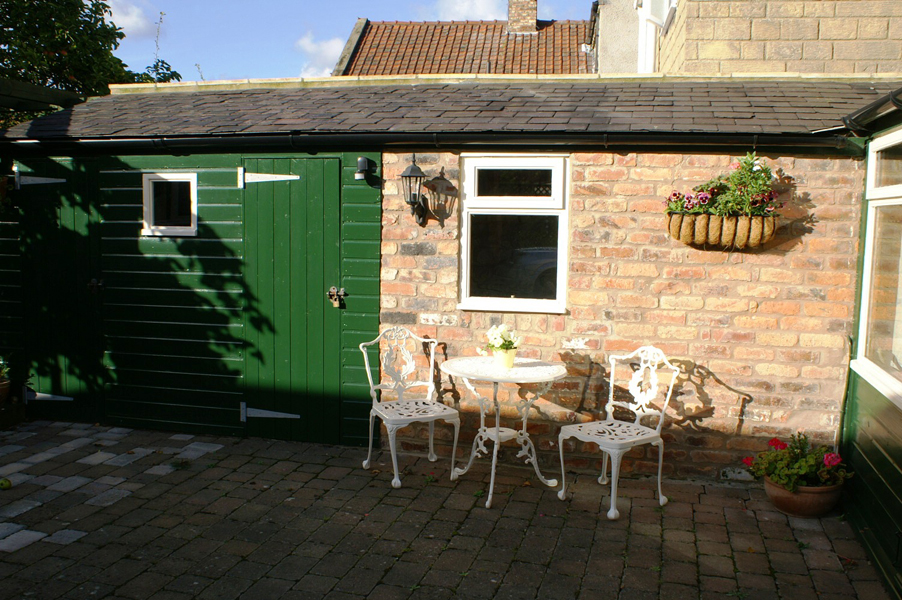
Before
After 30 years of wondering what to do with a porch that was too small to sit in, and wanting to be able to see the garden from the house, in 2018 we decided on biting the bullet and having an extension built. A massive job, involving a lot of disruption for three months of building, and then a year redesigning and restoring the paving around the new building, recycling some of the wood and stone from the old porch buildings, and then catching up on all the gardening that took second place while more urgent decoration and furnishing took precedent.

The porch as it was when we bought the house in 1986.
1980s

Replacement porch built by Norton Joinery in the early 1990s
1990s

Sheds adjoining porch refurbished in early 2000s
early 2000s
The porch in earlier days changed more than once, with a new build, a slate roof, and a new shed at the north side.
Excavating the foundations
Excavations
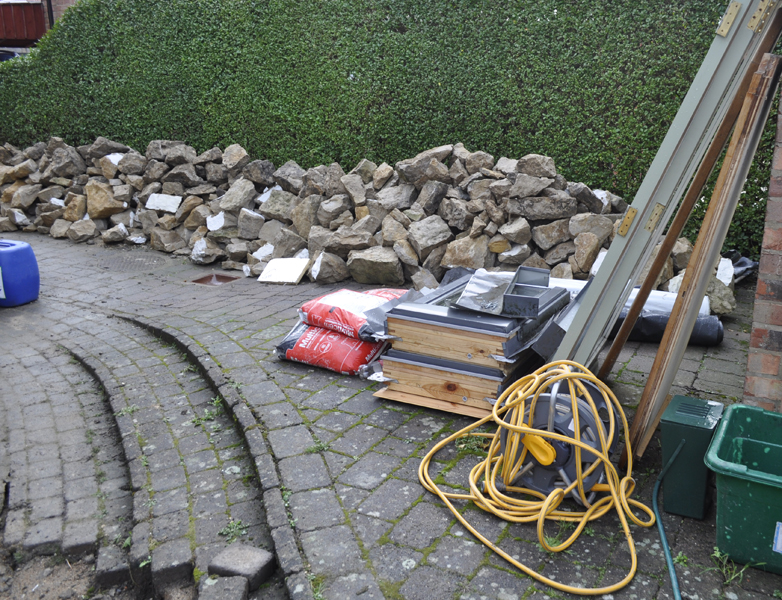
Walling stone to be recycled in the garden
Stone
Having demolished the old porch, a week of digging out solid clay and filling three skips made life very messy. The extension has a deeper foundation than the house!
The stone wall on the north side of the house was part of the original house building (1914); apparently there were stables at one time. It was backed off and re-used for the north wall, with breeze block inside and the obligatory insulation in between.

Garden room extension built in 2018-9
Finished
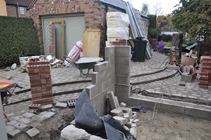
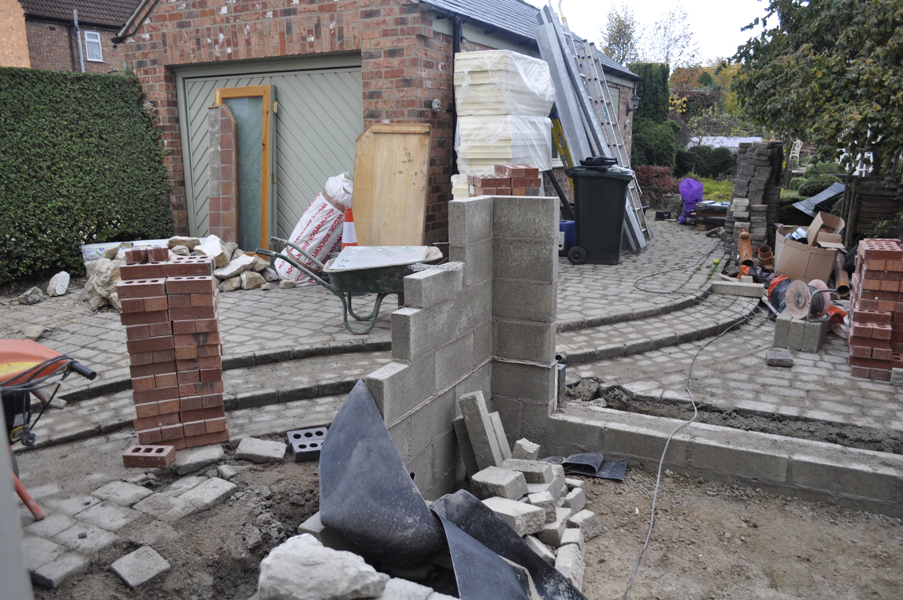
Garden room extension build in progress
Looking up
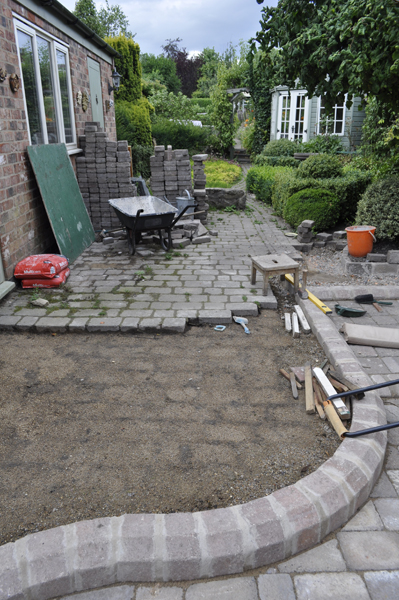
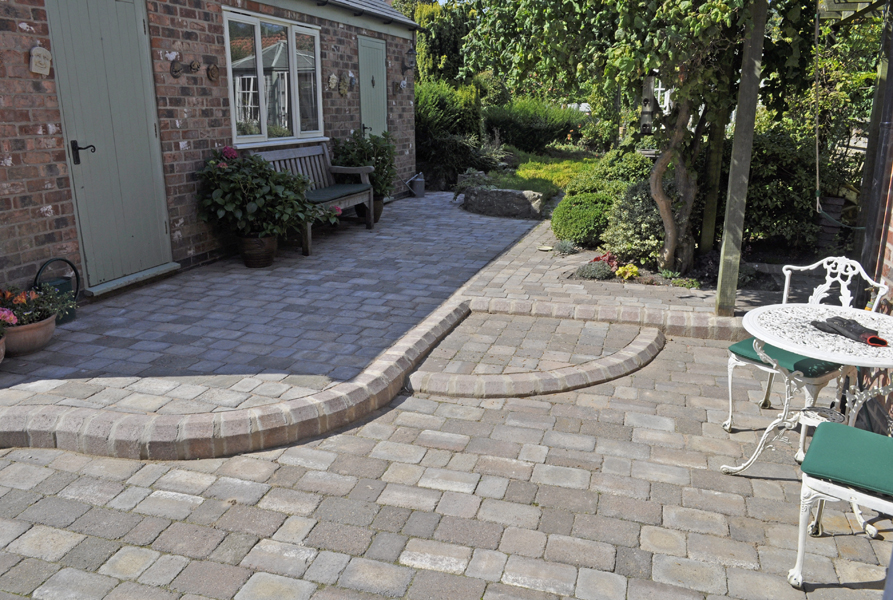
The design incorporates large windows and doors so that we can sit and look out on the garden. It cut across the path and paving generally, which meant the whole area of paving blocks had to be redesigned and relaid. The old paving had a curved, stepped path made from large pavers turned on end. Over the years they had worked a little loose, and were not really holding the paving in place.

3 sizes of Tegula paving blocks laid in random pattern
Rubble and clay
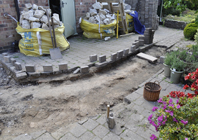
3 sizes of Tegula paving blocks laid in random pattern
Preparations

3 sizes of Tegula paving blocks laid in random pattern
Kerbstones
The new design had to incorporate the rise in level from the house to the garage. Unlike 20 years ago, this time I could afford chunky Tegula kerbing blocks to create the step up and hold the paving in place. A bit pricy but much better than pavers on end.

3 sizes of Tegula paving blocks laid in random pattern
Paving finished, area cleared
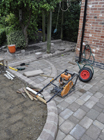
Plate vibrator or "wacker" for consolidating hardcore, sand and pavers
Wacker
The builders kindly left me with their plate vibrator (or wacker as they called it). This consolidated the 4" layer of hardcore, then the 2" layer of sand, and finally levelled out the pavers and riddled the paving sand in between the joints. Apart from the kerb stones, everything was done by re-using the old pavers, in most cases turning them upside down for a less worn surface.
Most of summer of 2019 was spent on this paving. At least there was some spectacular cricket to listen to while doing the job - the World Cup and the Ashes series. Ben Stokes' summer.
 Goat's beard before summerhouse building
 Tortoiseshell on the buddleia in late August
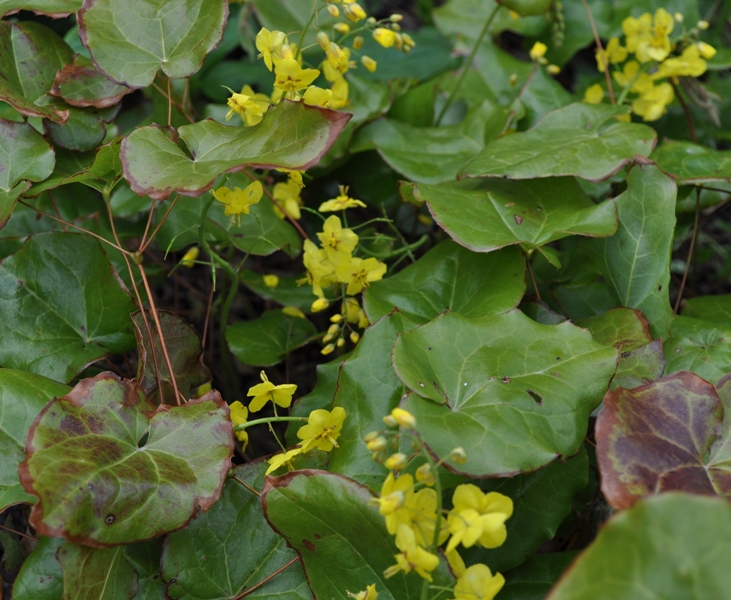 Epimedium in flower, April